

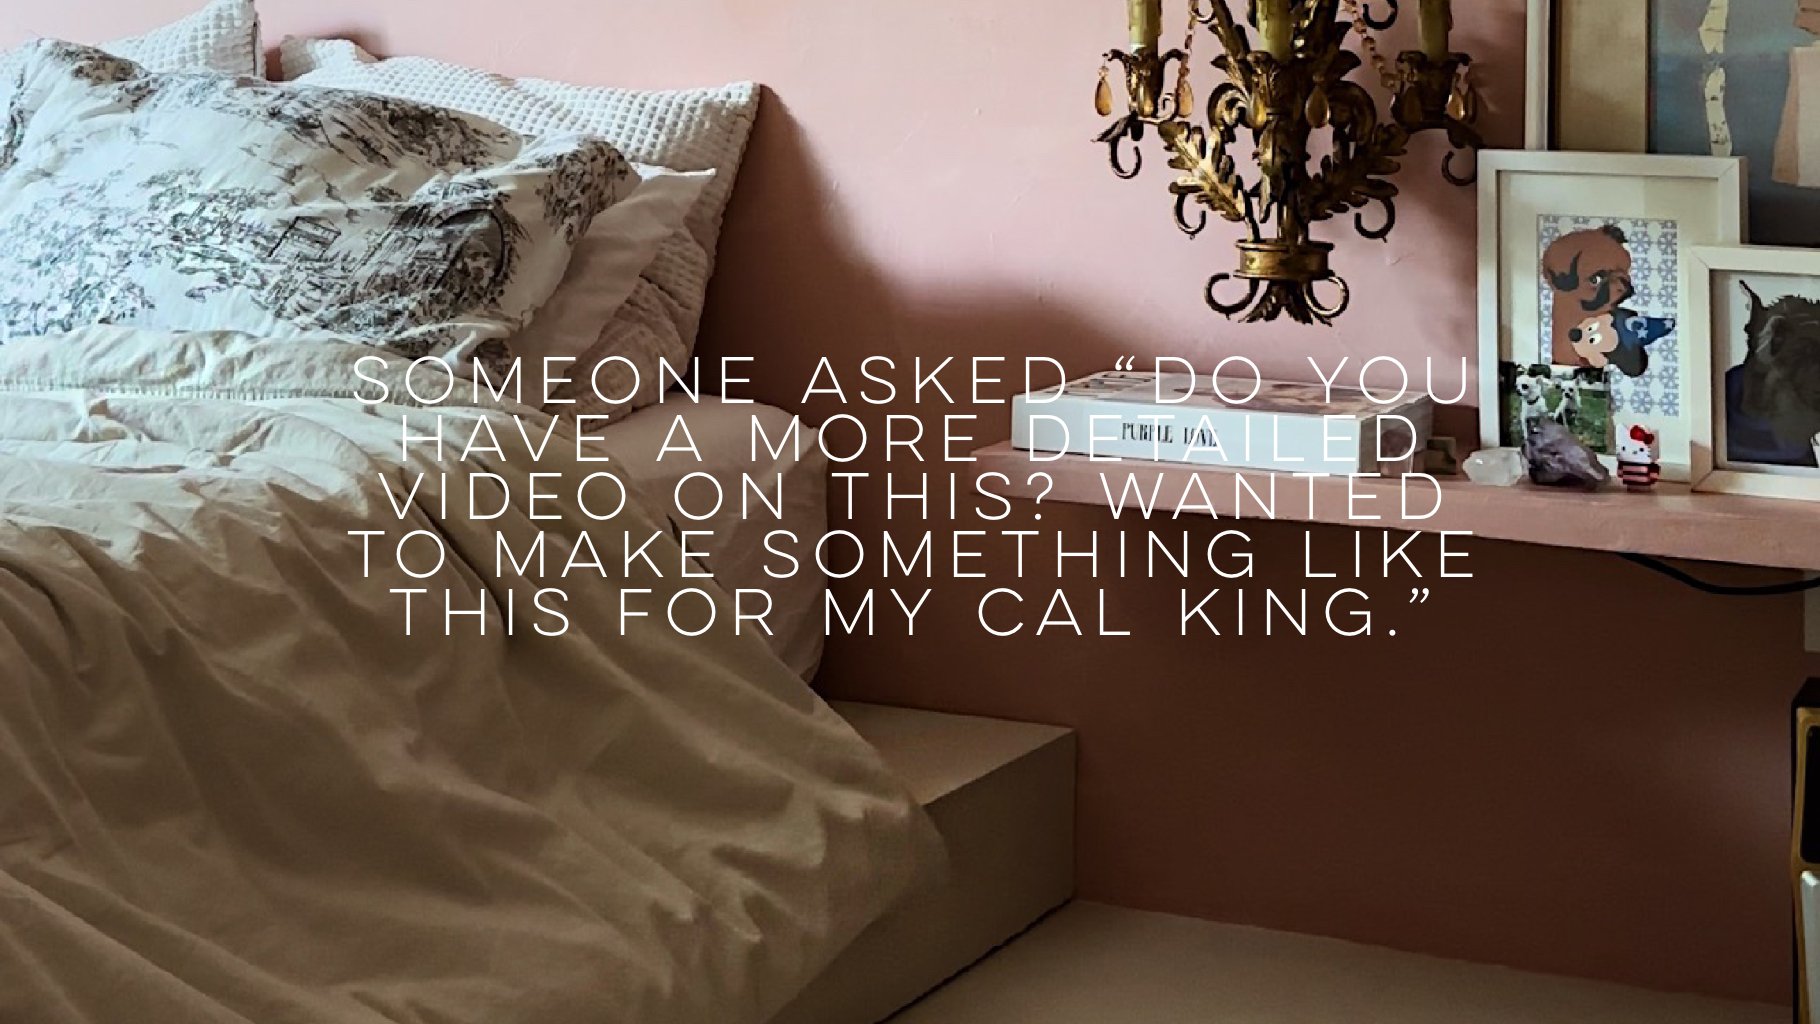
Someone asked “Do you have a more detailed video on this? Wanted to make something like this for my cal king.”
Someone asked “Do you have a more detailed video on this? Wanted to make something like this for my cal king.”
First things first, was to decide how big we wanted the platform bed to be, while keeping in mind the size of our bedroom📏📐. Nothing too big, otherwise, the room will feel cramp.
We decided to build a 90” by 80” by 6 1/2” high platform bed. Using 3/4” particleboard for the top and 2 x 6 framing lumbers for the base. 4 pieces of framing lumber to frame and 3 pieces on the inside of the base as support. Finally, screw all the pieces together. And because I am a little extra, I decided to cement and paint the platform bed. I wanted the bed and floors to have a seamless look 🪚🧰🔨🔩. Hope this helps 😘💝.

Someone asked “How does one create a space like this without it looking tacky help LOL.”

Someone asked “How does one create a space like this without it looking tacky help LOL.”
One simple way is to take things out of their context🖱️🥤🥣🚬. When that happens, you are creating the element of surprise 😲😮. The unexpected feeling arises allowing the objects to look more like artwork, sculpture pieces… depending how you are trying to present it. So it becomes less tacky and more fun 🥳💝.

Someone asked “ Can you show how you tied the rope to the light?”

Someone asked “ Can you show how you tied the rope to the light?”
I don’t remember who taught me how to tie this specific knot nor the name of it but I do know it secures really well.
You take one end of the rope and loop it around 3 times, 5 times or whatever that works for you. Next, take that end of the rope and shove it through the middle of the loops you just made. Lastly, pull on it really tight to secure your knot.
Do remember to buy your rope a couple of feet longer than what you actually need. More is always better than less, well at least in this situation 😅.

Someone asked “I love the walls! Can you share more about the floors? What did you put over the plywood? I’d love to see & hear more details about the floor”

Someone asked “I love the walls! Can you share more about the floors? What did you put over the plywood? I’d love to see & hear more details about the floor”
🪣First things first, we laid 1/4 inch OBS board down.
🪣Caulk the edges to prevent any concrete slipping through. Plus, I decided to skip installing baseboards to have a cleaner look.
🪣Sealing the floors with Redford Waterproofing and crack prevent membrane. Love this stuff.
🪣Mix the concrete. SURECRETE
CROTEK is the brand we got. Did 2 layers of it.
🪣Sanding. This helps smooth out any unevenness in the floors.
🪣Finally, sealing the floors with a floor sealant. I will be sharing more thoughts of the different brands we have used throughout the house in stories.
The process is very simple. It’s just work and lots of mess, especially the dust from sanding🤪. But if you love the look of concrete floors, imperfections and the simplicity of it, do give this a whirl ❤️.

IKEA VIDGA QUESTION
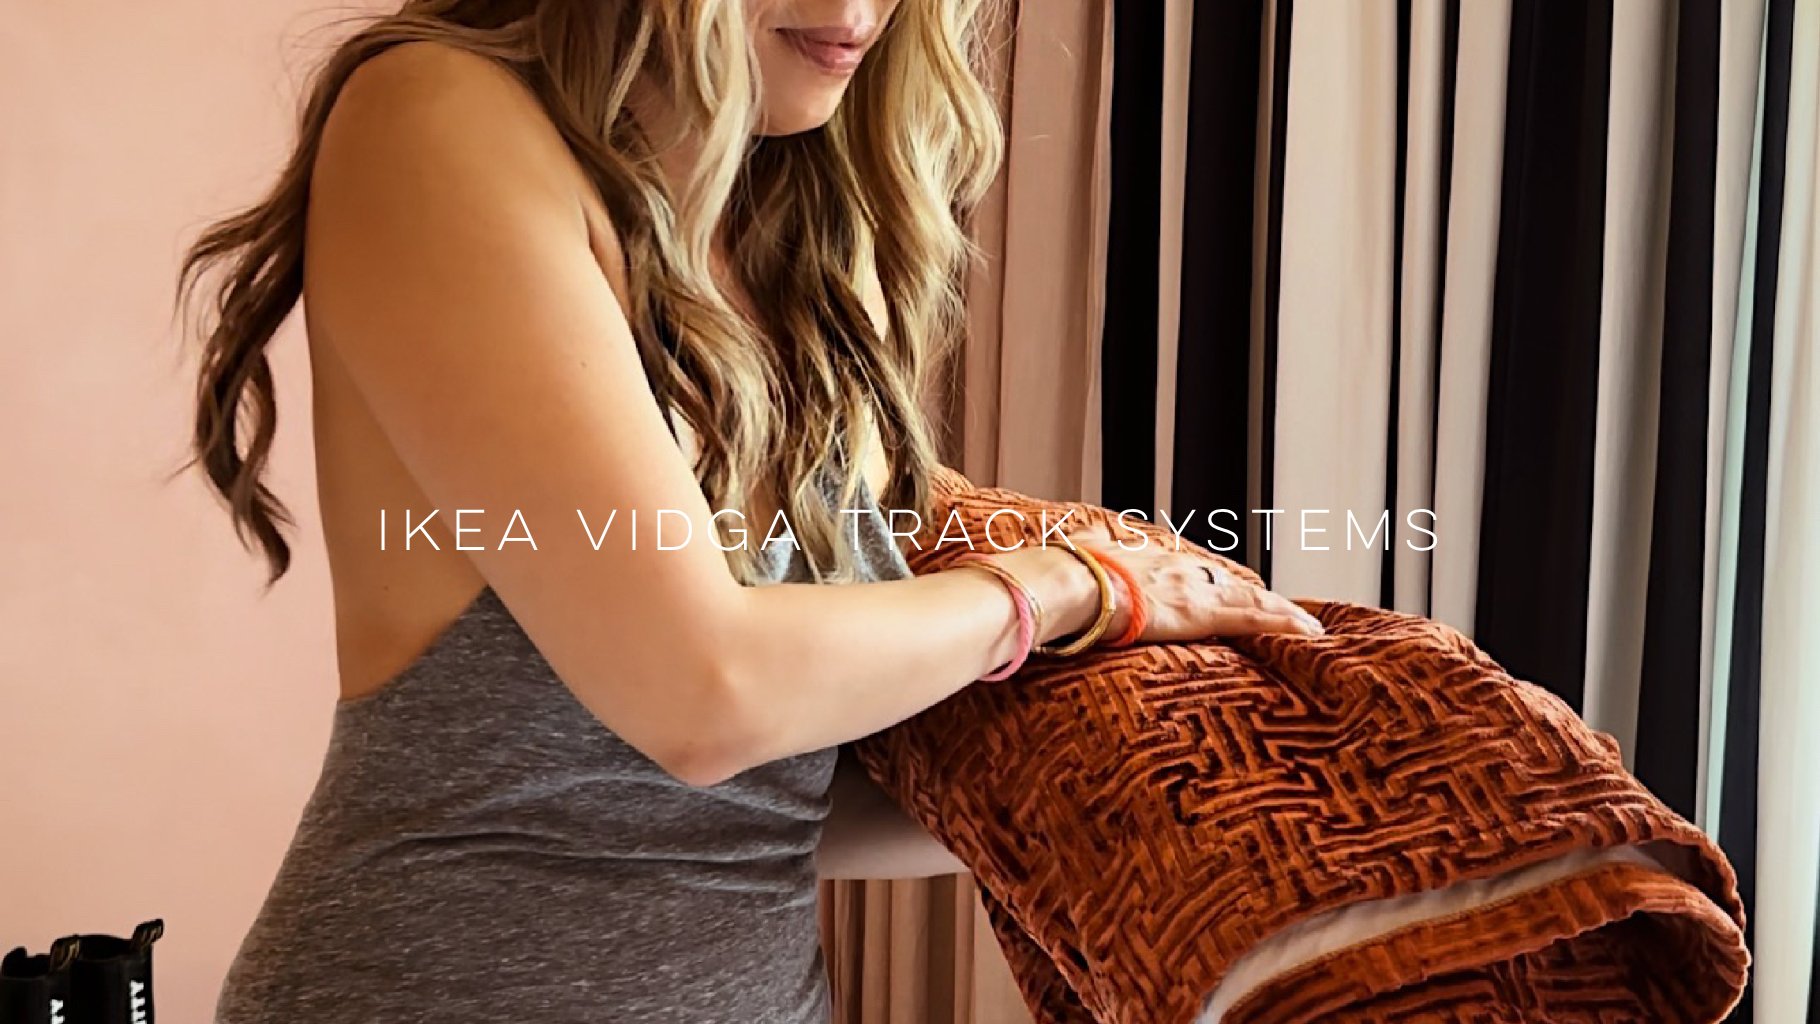
Someone asked “Hi Gladys! I was planning to buy this ikea ceiling track system for our new build house. How is the quality? Is it pretty sturdy or should i just buy the curtain rods? wanted to create a wrap around affect with this system using the corner pieces. Thanks!!”
I have used the IKEA VIDGA track system for a couple days and I am really loving it 💙💛💙. The quality of the railing is made out of light weight metal and the glider hooks are plastic. They are wonderful if you are going to use lighter or sheer curtains.
I would definitely not recommend using with it heavy fabric curtain panels, as those glider hooks may not hold up with all the pulling and tugging when you are trying to open and close the curtains.
If you like a nice uniform pleated look with your curtains, I recommend the getting the metal hooks.
The track system is easy to use, easy to install, so I do recommend getting some if you are thinking of having them in your homes 🙂🏡👌🏼.